
Developing weed at home can be an enhancing and savvy way to encounter pot. Assuming you’re keen on growing your ganja yet don’t have to get the right of passage to the specific gadget, sit back and relax!
Growing hashish at home without specialized equipment is hard but possible if you follow a few basic concepts I have explained below.
This manual will walk you through the technique of developing weed at home without fancy equipment, protecting the entirety from selecting the right strain to harvesting your buds.
Choosing the Right Strain:
The first step in growing weed at home is selecting the proper stress. Some lines are easier to develop than others, especially for beginners. Here are some factors to recall while deciding on a pressure:
1. Indica vs. Sativa:
Indica strains tend to be shorter and bushier, making them ideal for small spaces. Sativa strains can develop tall and lanky, requiring extra vertical space. Hybrid strains can offer a combination of each characteristic.
2. Autoflowering vs. Photoperiod:
Autoflowering traces robotically transfer from the vegetative level to the flowering degree without changes in mild cycles, making them simpler for novices. Photoperiod traces require specific light schedules to flower.
3. Resistance to Pests and Mold:
Some traces are more immune to common pests and mold, decreasing the likelihood of issues throughout your development.
Setting Up Your Growing Space:
You do not need a high-tech, developed tent to domesticate weed. With creativity, you could install a simple and powerful developing area. Here are a few tips:
1. Choose the Right Location:
Find a discreet, properly ventilated area in your home. A closet, spare room, or maybe a corner of your storage can be a good location. Make certain the gap has smooth access to power and water.
2. Light Source:
Normal daylight is awesome and the most savvy light stock. Place your plants close to a south-bound window to boost light exposure. If natural light is insufficient, remember to use simple household CFL or LED bulbs. Position them near the plants (without touching) to provide adequate light.
3. Reflective Surfaces:
Increase light performance by lining the partitions of your growing space with reflective substances like white paint or aluminum foil. This will help distribute light evenly to all plant elements.
Also Read: Lowe’s Home Improvement Greer South Carolina
Germinating Your Seeds:
you have picked your strain and introduced your creating region, now is the ideal time to sprout your seeds. Germination is the method of getting your seeds to grow. Here’s a simple method:
1. Paper Towel Method:
- After soaking.
- Place the seeds between moist paper towels.
- Put the paper towels on a plate and cover them with another plate to create dark, humid surroundings.
- Keep the paper towels wet but no longer soaked.
2. Wait for Sprouts:
Check the seeds daily. Within a few days, you should see small white roots rising from the seeds. Once the roots are about 0.5-1 inch lengthy, they’re ready to be planted.
Planting and Caring for Your Seedlings:
1. Planting:
Fill small pots or boxes with a light, well-draining soil mix. Make a small hollow in the soil about 0.5 inches deep and lightly vicinity the sprouted seed root face down. Cover it lightly with soil and water gently.
2. Watering:
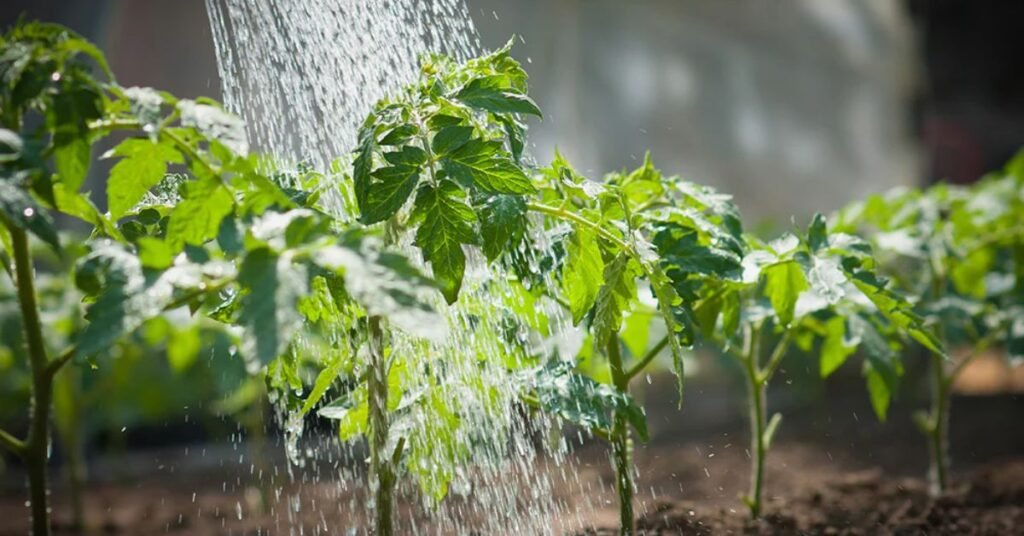
Keep the soil always wet but not waterlogged. Overwatering can lead to root rot. An excellent rule of thumb is to water when the pinnacle inch of soil feels dry.
3. Light:
Ensure your seedlings acquire lots of light. If using natural daylight, rotate the pots each day to ensure even light distribution. If using synthetic lighting fixtures, keep them on for about 18 hours an afternoon, all through the vegetative stage.
Also Read: Furrion Microwave/Convection Oven Recall-Comprehensive Overview
Vegetative Stage Care:
During the vegetative degree, your plants will focus on developing stems and leaves. Proper care in the course of this degree is essential for a wholesome plant:
1. Nutrients:
Cannabis flowers require important vitamins like nitrogen, phosphorus, and potassium. While you could buy industrial fertilizers, you could additionally use family gadgets like espresso grounds, banana peels, and eggshells to supplement nutrients. Add these to your soil or create a simple compost tea.
2. Pruning and Training:
To encourage bushier growth and higher light penetration, trim off any big fan leaves that block light from reaching lower parts of the plant. You can also gently bend and tie down branches (a technique called low-strain schooling) to create a more even cover.
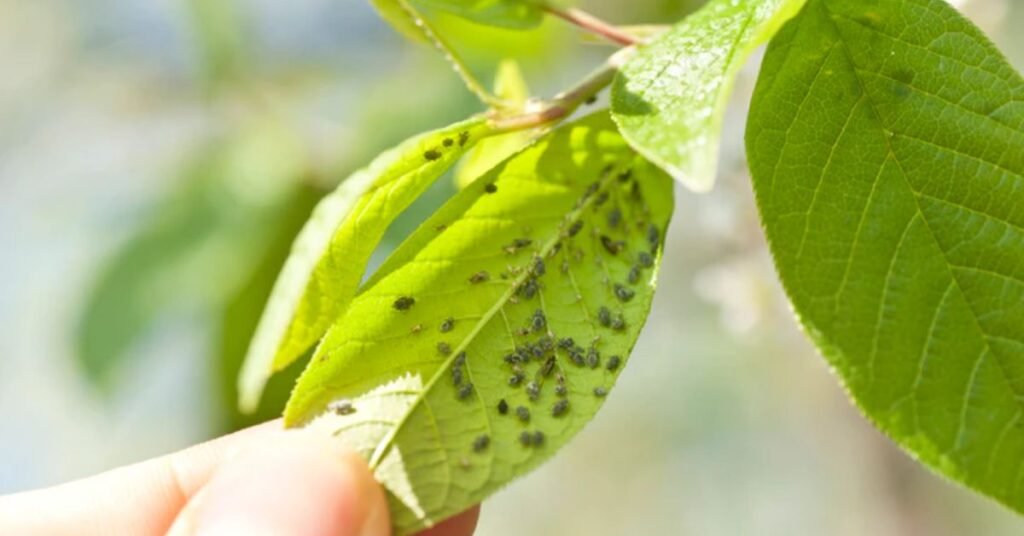
3. Monitoring:
Look out for signs and side effects of vermin or problems. Normal issues incorporate yellowing leaves (which can demonstrate a lack of supplements) and spots or openings (which can show bugs). Address any issues straightforwardly.
Flowering Stage and Harvesting:
After numerous weeks within the vegetative level, your plant life will begin to flower. That is after they start producing buds:
1. Light Cycle:
If you are growing photoperiod strains, transfer to a 12-hour light and 12-hour dark cycle to set off flowering. Autoflowering traces will routinely input this level.
2. Feeding:
Reduce nitrogen levels and boost phosphorus and potassium tiers to aid bud development. Continue to water and screen your plant life closely.
Harvesting, Drying, and Curing:
Proper harvesting, drying, and curing are important for extremely good hashish:
1. Harvesting:
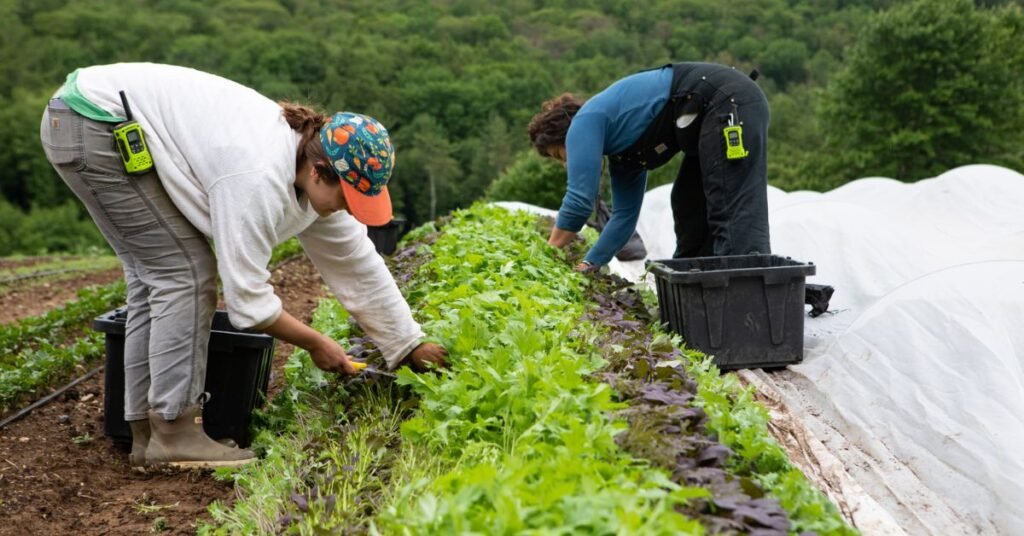
Cut down the flowers at the bottom and trim off large fan leaves. You can cut off individual branches or submerge the whole plant to dry.
2. Drying:
Hang the branches or whole flowers in a darkish, well-ventilated area. Aim for a temperature of 60-70°F and humidity of fifty-60%. Allow the plants to dry for 7-14 days or until the small branches snap without difficulty.
3. Curing:
- After drying.
- Trim the buds and region them in airtight glass jars.
- Store the jars in a cool, dark area and open them daily for the primary week to launch moisture.
- After a week, open the jars every few days. This curing procedure can take 2-4 weeks and drastically improves the flavor and potency of your cannabis.
Also Read: How To Tighten A Loose Tooth At Home?-Easy Solutions
FAQ’s:
1. Do weed flowers smell like weed?
A cannabis plant releases many odor-causing molecules as it grows from a younger plant to a mature plant geared up for harvest.
2. Is it safe to live next to a grow house?
Grow houses additionally pose widespread fire dangers due to custom electric rewiring and the use of warm grow lamps.
3. What are the strategies for developing the interior?
There are methods you may develop flowers indoors – with pots and soil or hydroponics.
4. Is it safe to have developed lights in your private home?
Overexposure to any light, even natural sunlight, can be risky. However, the UV light produced by most indoor development is not harmful to human skin.
Conclusion:
Growing weed at home without a device is absolutely viable with some fundamental knowledge and resourcefulness. By deciding on the proper strain, putting in a simple growing area, being concerned about your vegetation, and following through with harvesting and curing, you can enjoy great homegrown hashish. Remember, patience and attention to detail are key to successful development. Happy growing up!